


YouTube Mistakes
Whether you’re broadcasting from furnished serviced offices in Brisbane or a back shed in Darwin, growing a YouTube channel is about as straightforward as teaching

X / Twitter for Businesses
What should your business tweet next? How often should I tweet? The classic question “How do I measure Twitter’s success?” You’re not alone if you can relate.

How To Get More Followers On TikTok?
How To Get More Followers On TikTok? Secret of unlocking it! Social media platforms have become a key resource for individuals and brands to stay
How To Promote Your Brand On Qzone
Our endless search for platforms that are reliable and offer great opportunities for our social media marketing woes is on. We are faced with the
How to Utilize QQ to Promote Your Brand: A Step-By-Step Guide
The Chinese social media network QQ is an alternative to other popular social platforms such as Facebook, Instagram, and Twitter. It has over 750 million
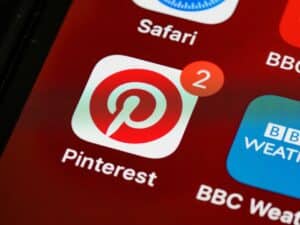
How to Use Pinterest to Promote Your Brand and Get More Traffic
Whether a blogger, vlogger, brand, or business owner with a website or shop, the visual social network Pinterest is a great place to reach your